
DIY Forest Training Seymour Picnic Weekly Virtual Training
October 1st 2022 10:00am - October 23rd 2022 5:00pm
Organizer: Laurent Mingo (Event Director)
DIY Training on a new map at Seymour Picnic !
Update Nov 11: Flags are still there except (70,69,66,65,56) and 2 of the Finish.
Update Oct 21: email me (above link) after Oct 22 if you intend to do these courses. O-flags will be taken down at some point after Oct 23.
Take advantage of the nice weather to practise forest O while it is still dry. New map, complex terrain and some old growth forest to visit. Intermediate level orienteers can certainly do the practises without the pressure of a race. Go with friends to compare notes and don't forget to check out some of the training videos here.
Note Oct 14.: pdf maps updated with correct distance gap between vertical bar. 250m not 500m (typo).
GPS Track upload and results:
Registration Link:
Training Courses:
- Short Legs: 1.2km; 50m climb ; legs are ~ 150m between controls
- Long Legs: 1.8km; 75m climb; legs are ~ 350-500m between controls
Standard courses : All technical
- RealDeal1: 2.7km ; 160m climb
- RealDeal1_Shorter: 1.5km; 110m climb
- RealDeal2: 2.9 km; 100m climb
- RealDeal2_Shorter: 2.0km, 80m climb
Difficulty: Complex, but of course easier when taken as map/terrain practise training with no time pressure.
Timing: Use your watch or phone to log your GPS track and upload to BeepTiming to look up tracks:
Practise suggestion:
Don't get fooled by the short distance on these courses, they are tricky and will take some time to dial. They are meant as a practise, so feel free to go with a friend and work on compass bearing, route planning, and map/terrain features matching. These courses are not meant to be timed.
It is suggested to start with the Short legs course, then do the Long legs that uses the same area. Familiarity gained on the first course will be useful on the second course. There are no shared controls between courses, beside Start and Finish.
To practise terrain and map interpretation, it is suggested to minimize the use of trails in your route choices.
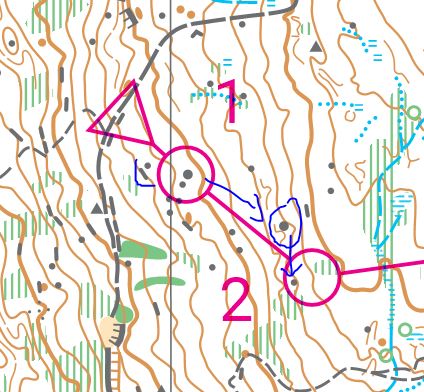
For Instance for the Short Legs course:
Leg 1: You are looking for a Large boulder that should stand out, ~ 75m from the start. (1) set your compass to the proper direction (2) notice that along the way you should see on your right a rock and perhaps a cliff (if visible from your position) next to it, then you enter a sort of wide reentrant, valley-shaped bit of terrain just before the where the large boulder should be. The boulder is roughly one contour line higher (5m) than the start, so not much climbing.
Leg 2: more tricky: you are looking for the top of a weak reentrant and the leg is longer (150m). However the reentrant extends down-slope and becomes more marked with a boulder in it, intersecting the direction you are coming from. Also another large boulder should be recognizable and you may want to use it as a stepping stone since it is a strong feature to steer towards this reentrant you can use to attack the control. The control is located between 4 and 5 contour lines from 1. So 20-25 m climb here.
Etc....
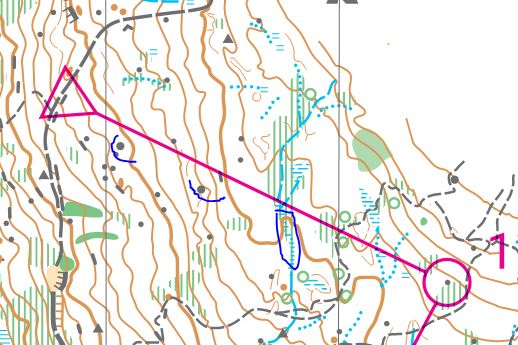
... and for Instance for the Long Legs course:
The terrain will be a little bit familiar once the short leg course is completed. In this case, you need to use these stepping stones features again to insure you are on-track and in contact with the map. So here, the two large boulders along the way, then identifying the creek /marsh crossing etc etc.
Resources:
Before you go out: you can check out these excellent training videos as well: Training Videos
Training Course's Start Coordinate: The start was placed ~ 1km up the main trail, a short walk, so that climbing on the course remains moderate. kml file gpx file, coordinates Start: -122.969740257976,49.352124640402 . Start and Finish are a little off the side to not attract too much interest. Obviously Start is a little more important for the practise... Look for a trail off to the left of the main access trail, then a few meter up hill there is the Start control on top of a small cliff.
Terrain and Map:
This area of the map is generally open, and mapped as "white forest" for most part, but take it as "West Coast white"... There are trails that used to be hiking trails and are now - for some sections - mountain biking trails, so there's starting to be some divergence between the mapped and actual trails. Use the physical terrain features more so than trails to navigate (this is forest training after all).
Controls:
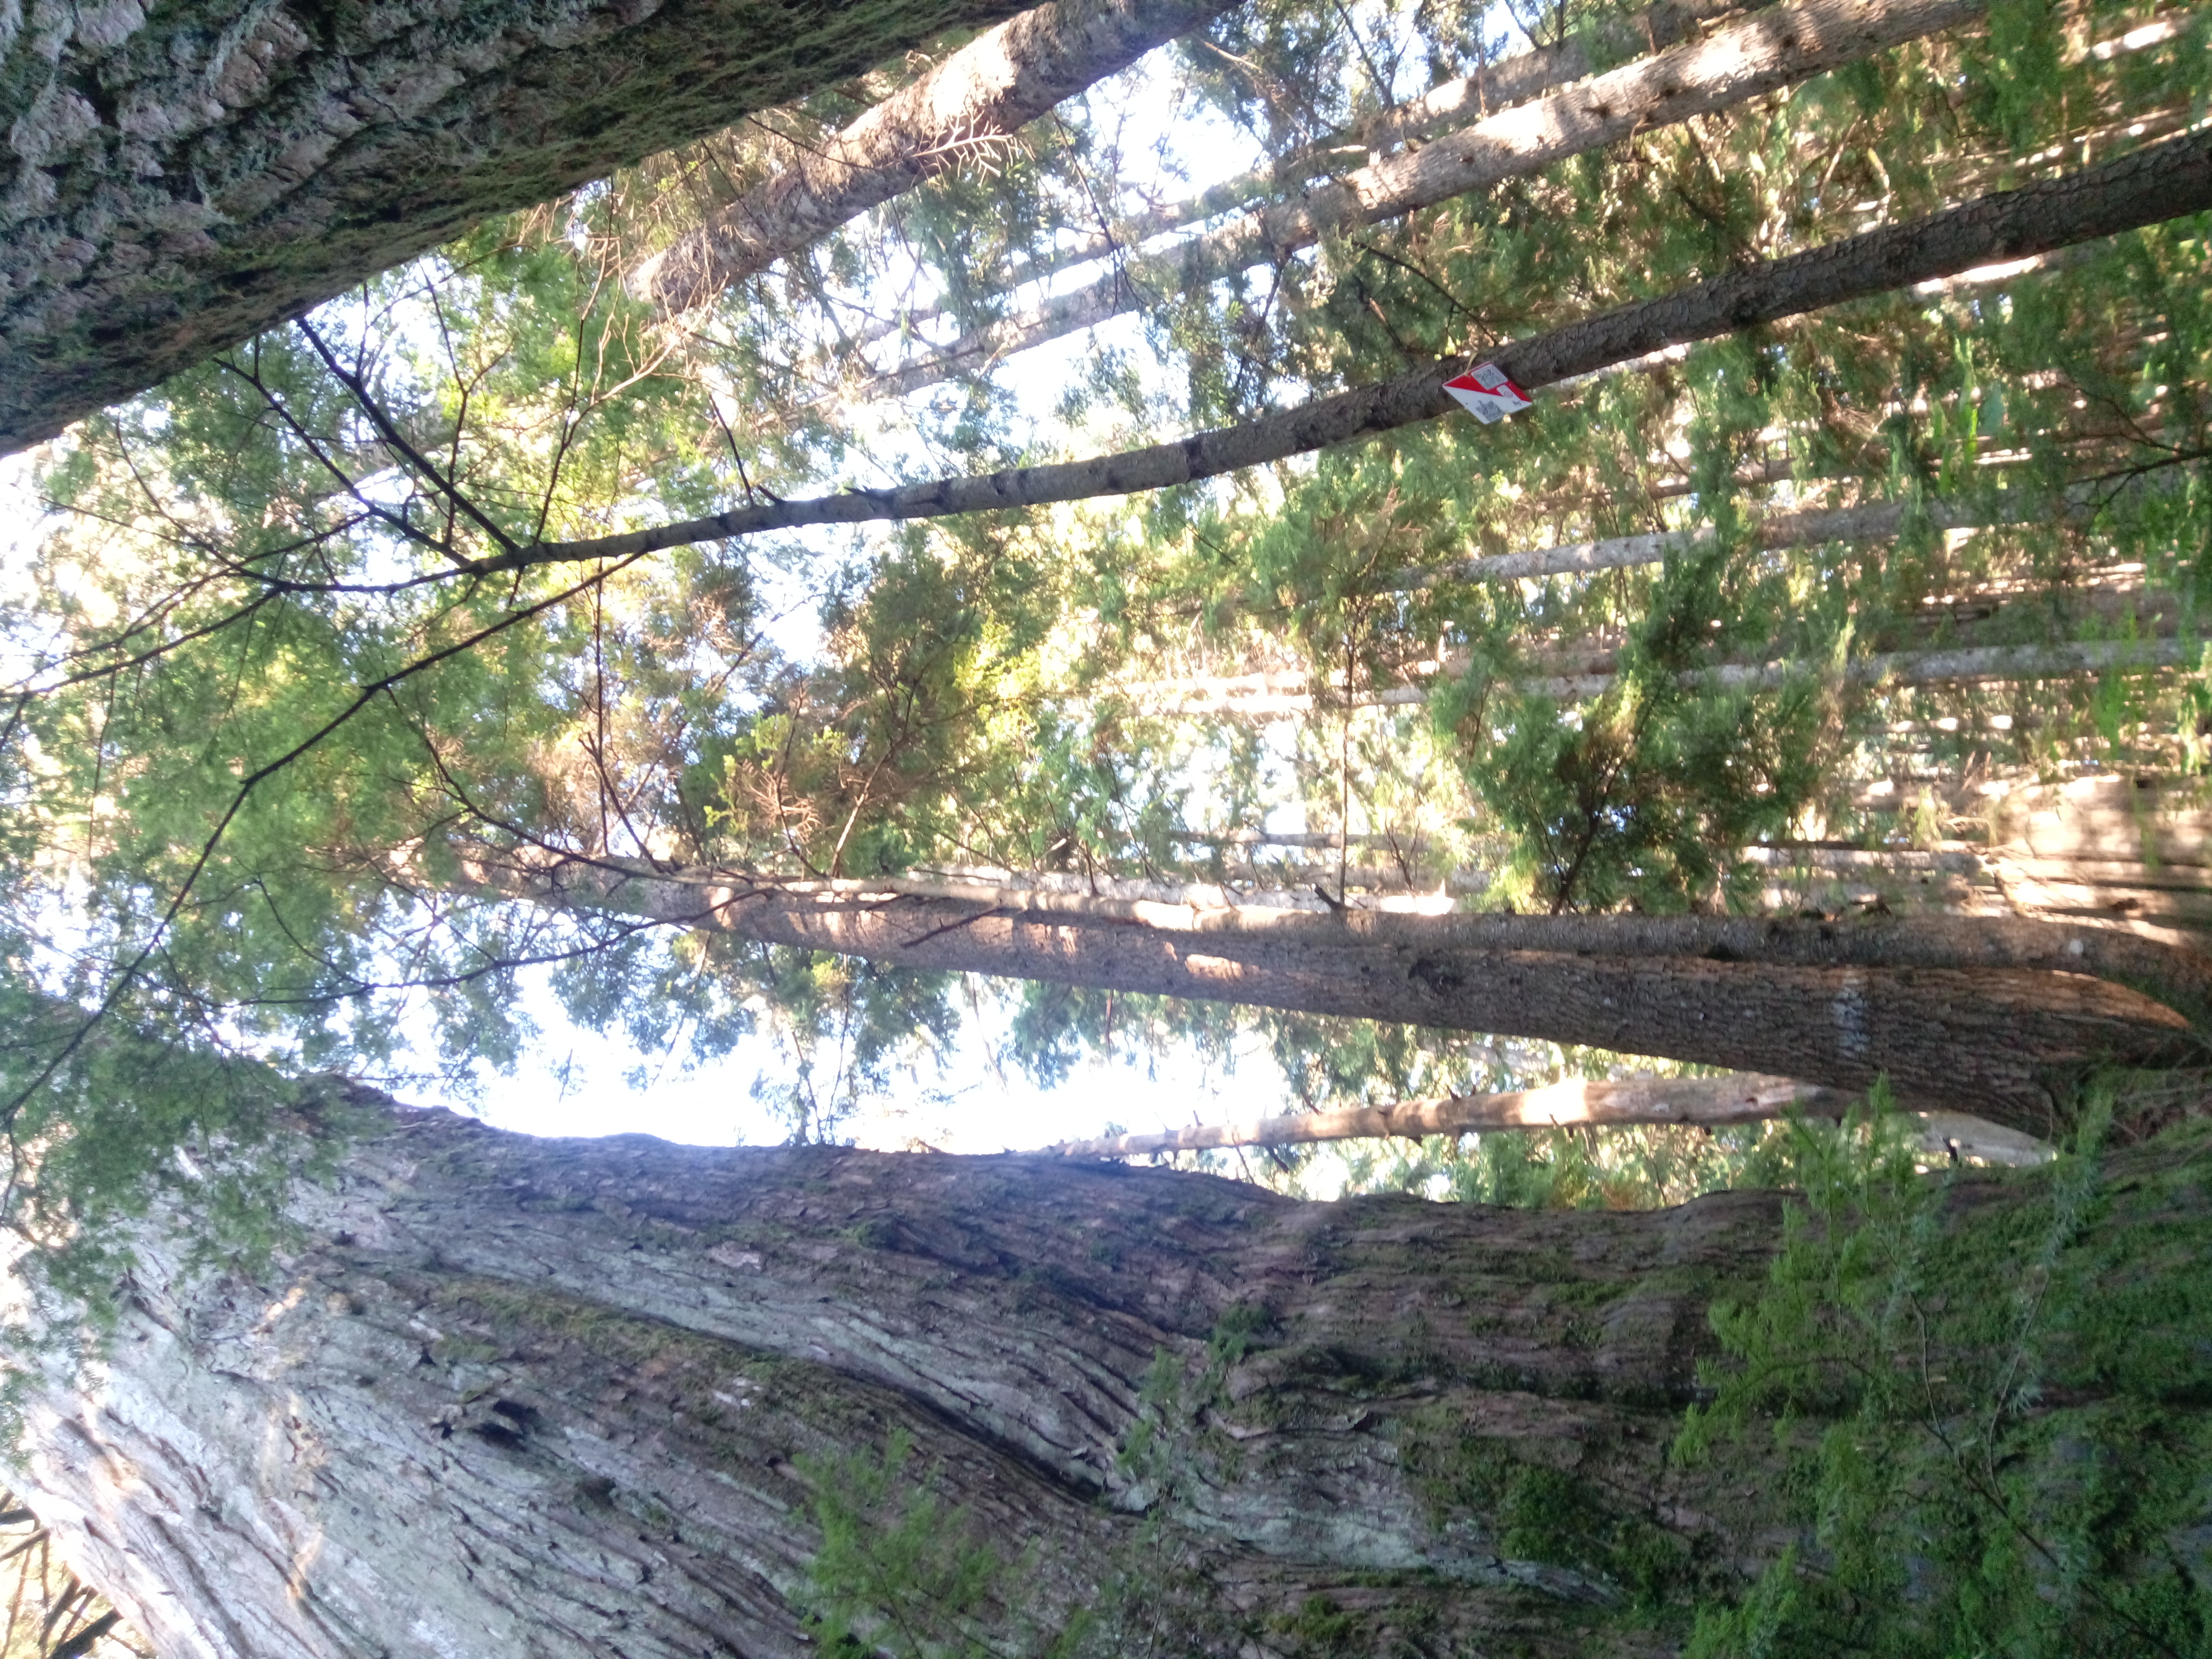
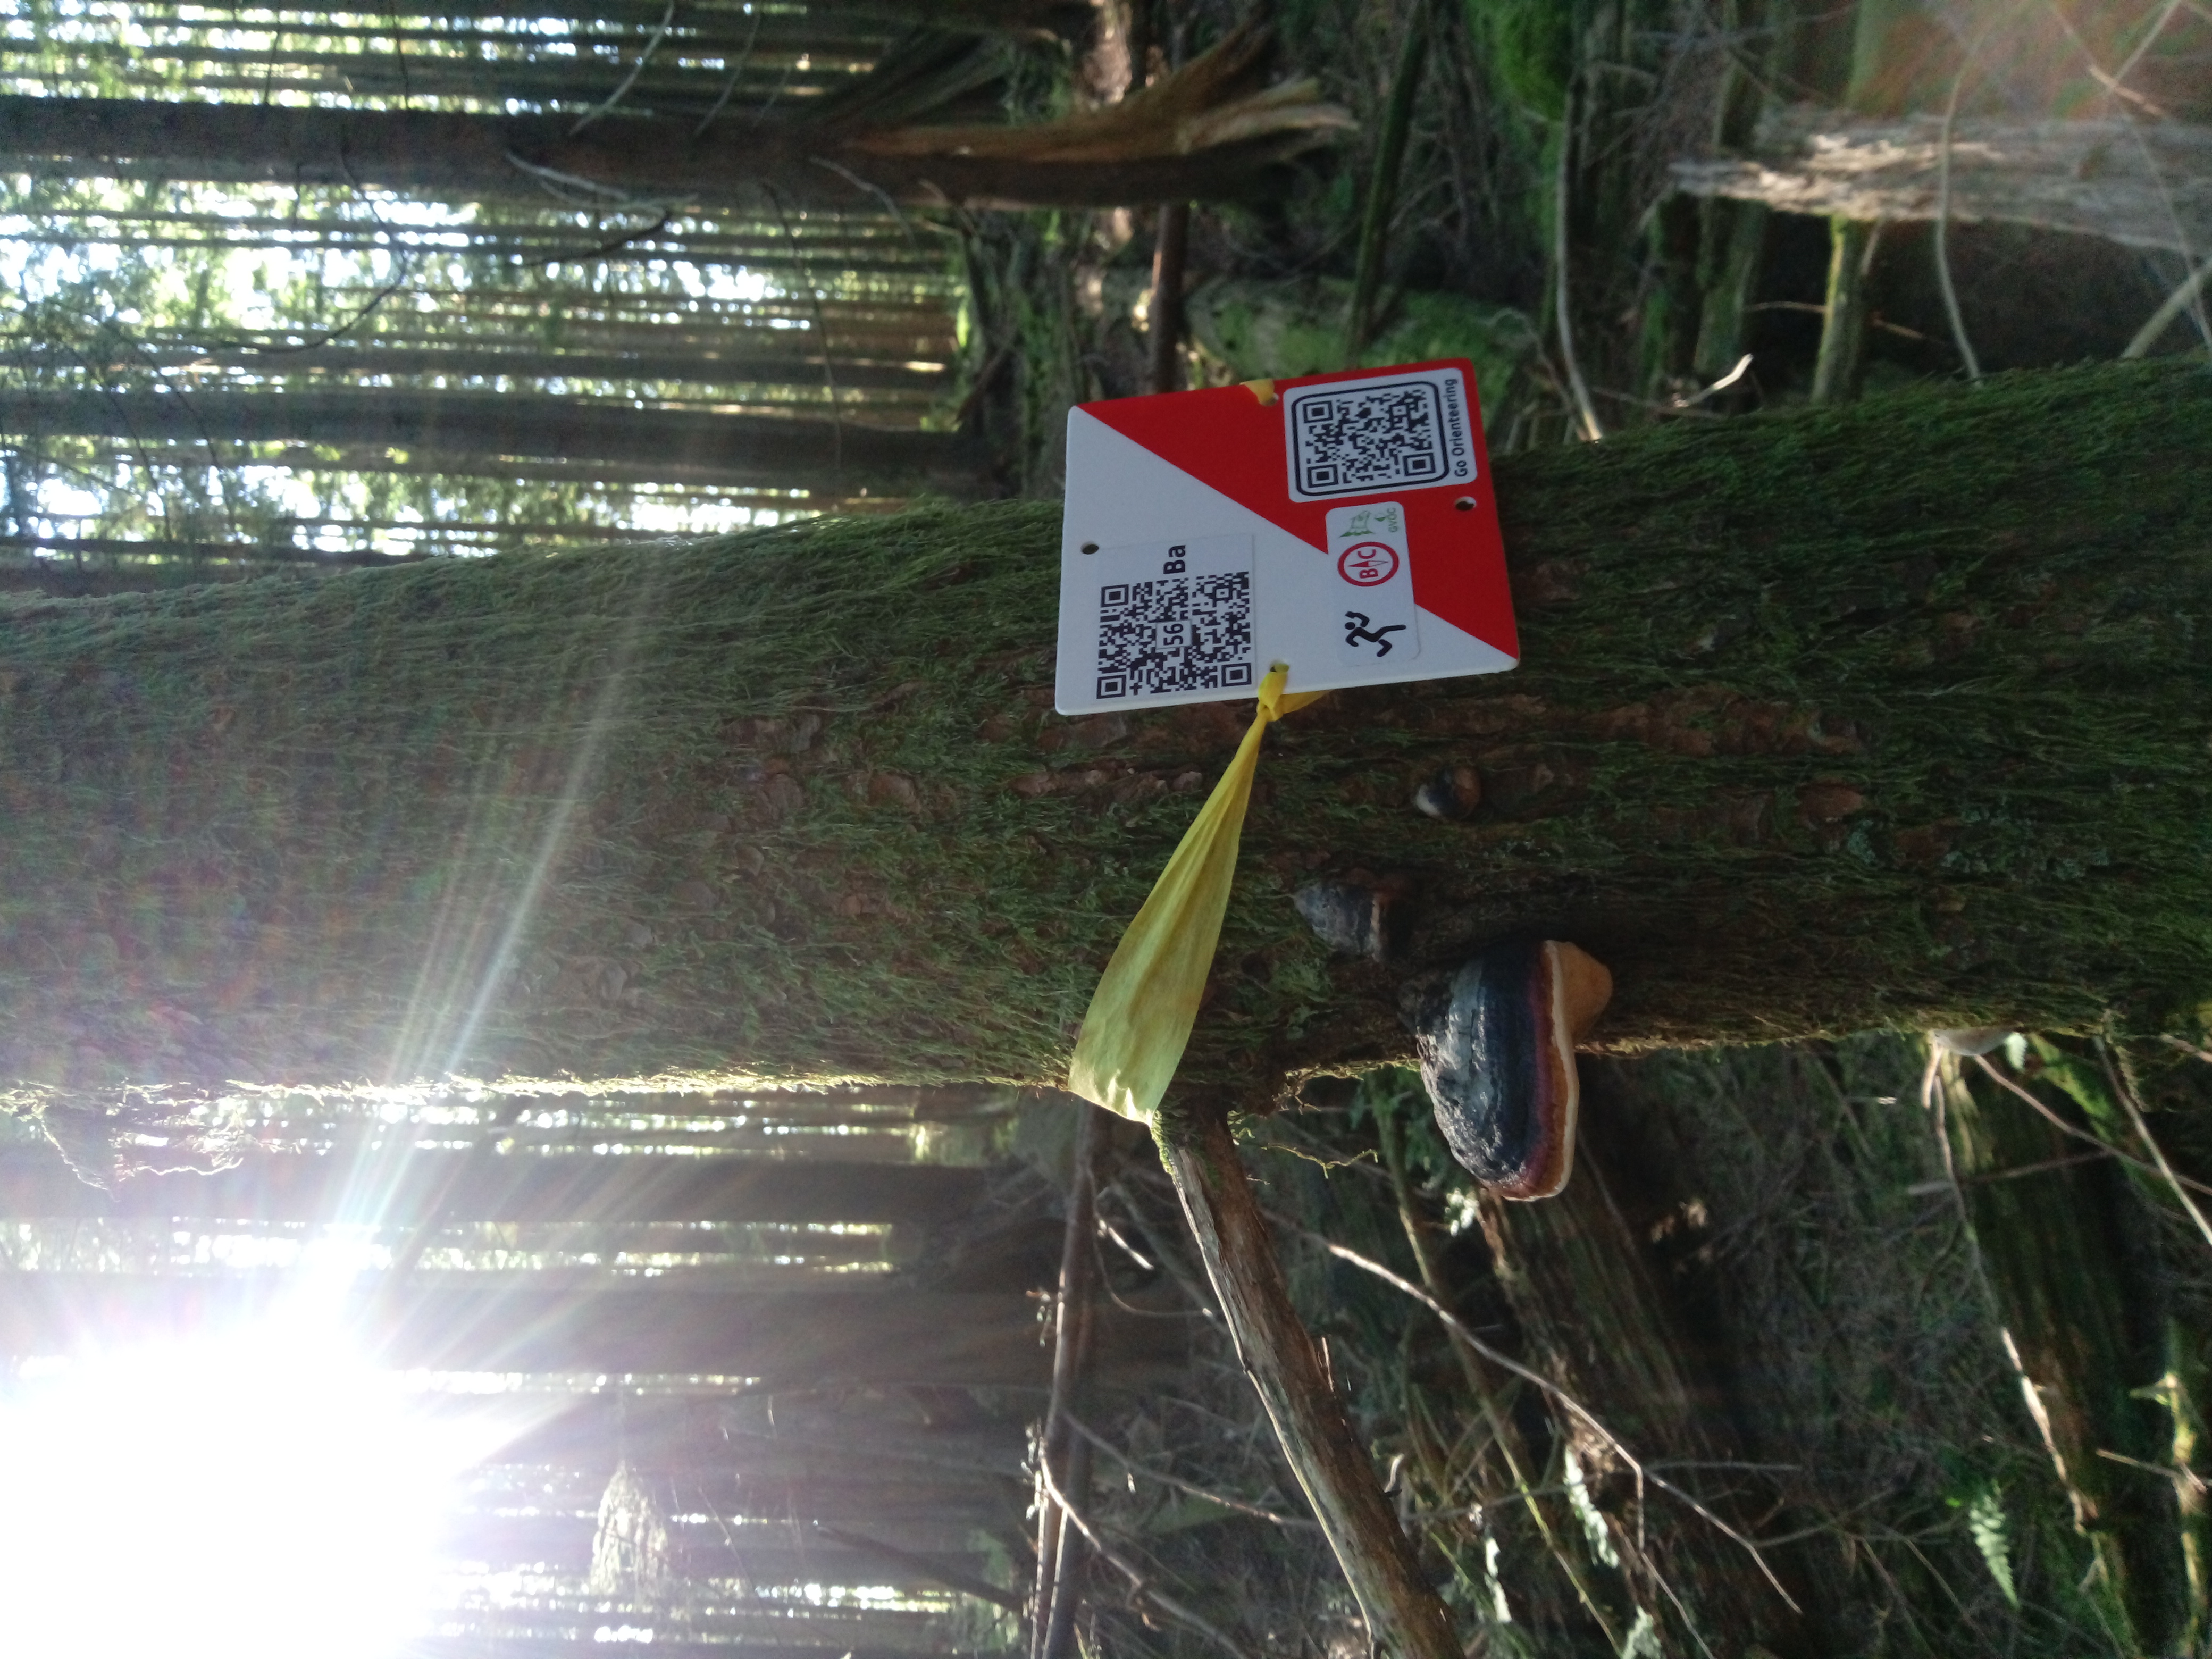
You are looking for 10cmx10cm O-plates like shown below thats are smaller than usual O-flags. They were placed so that they "should" be visible from the expected incoming direction between 1m and 1.5 above ground. Note that they are not as easily visible from a distance as a normal O flags though.
Yellow tape for the training controls (Control Number is printed inside the QR) :
Pink tape for the Standard Courses (Control Number is printed inside the QR).
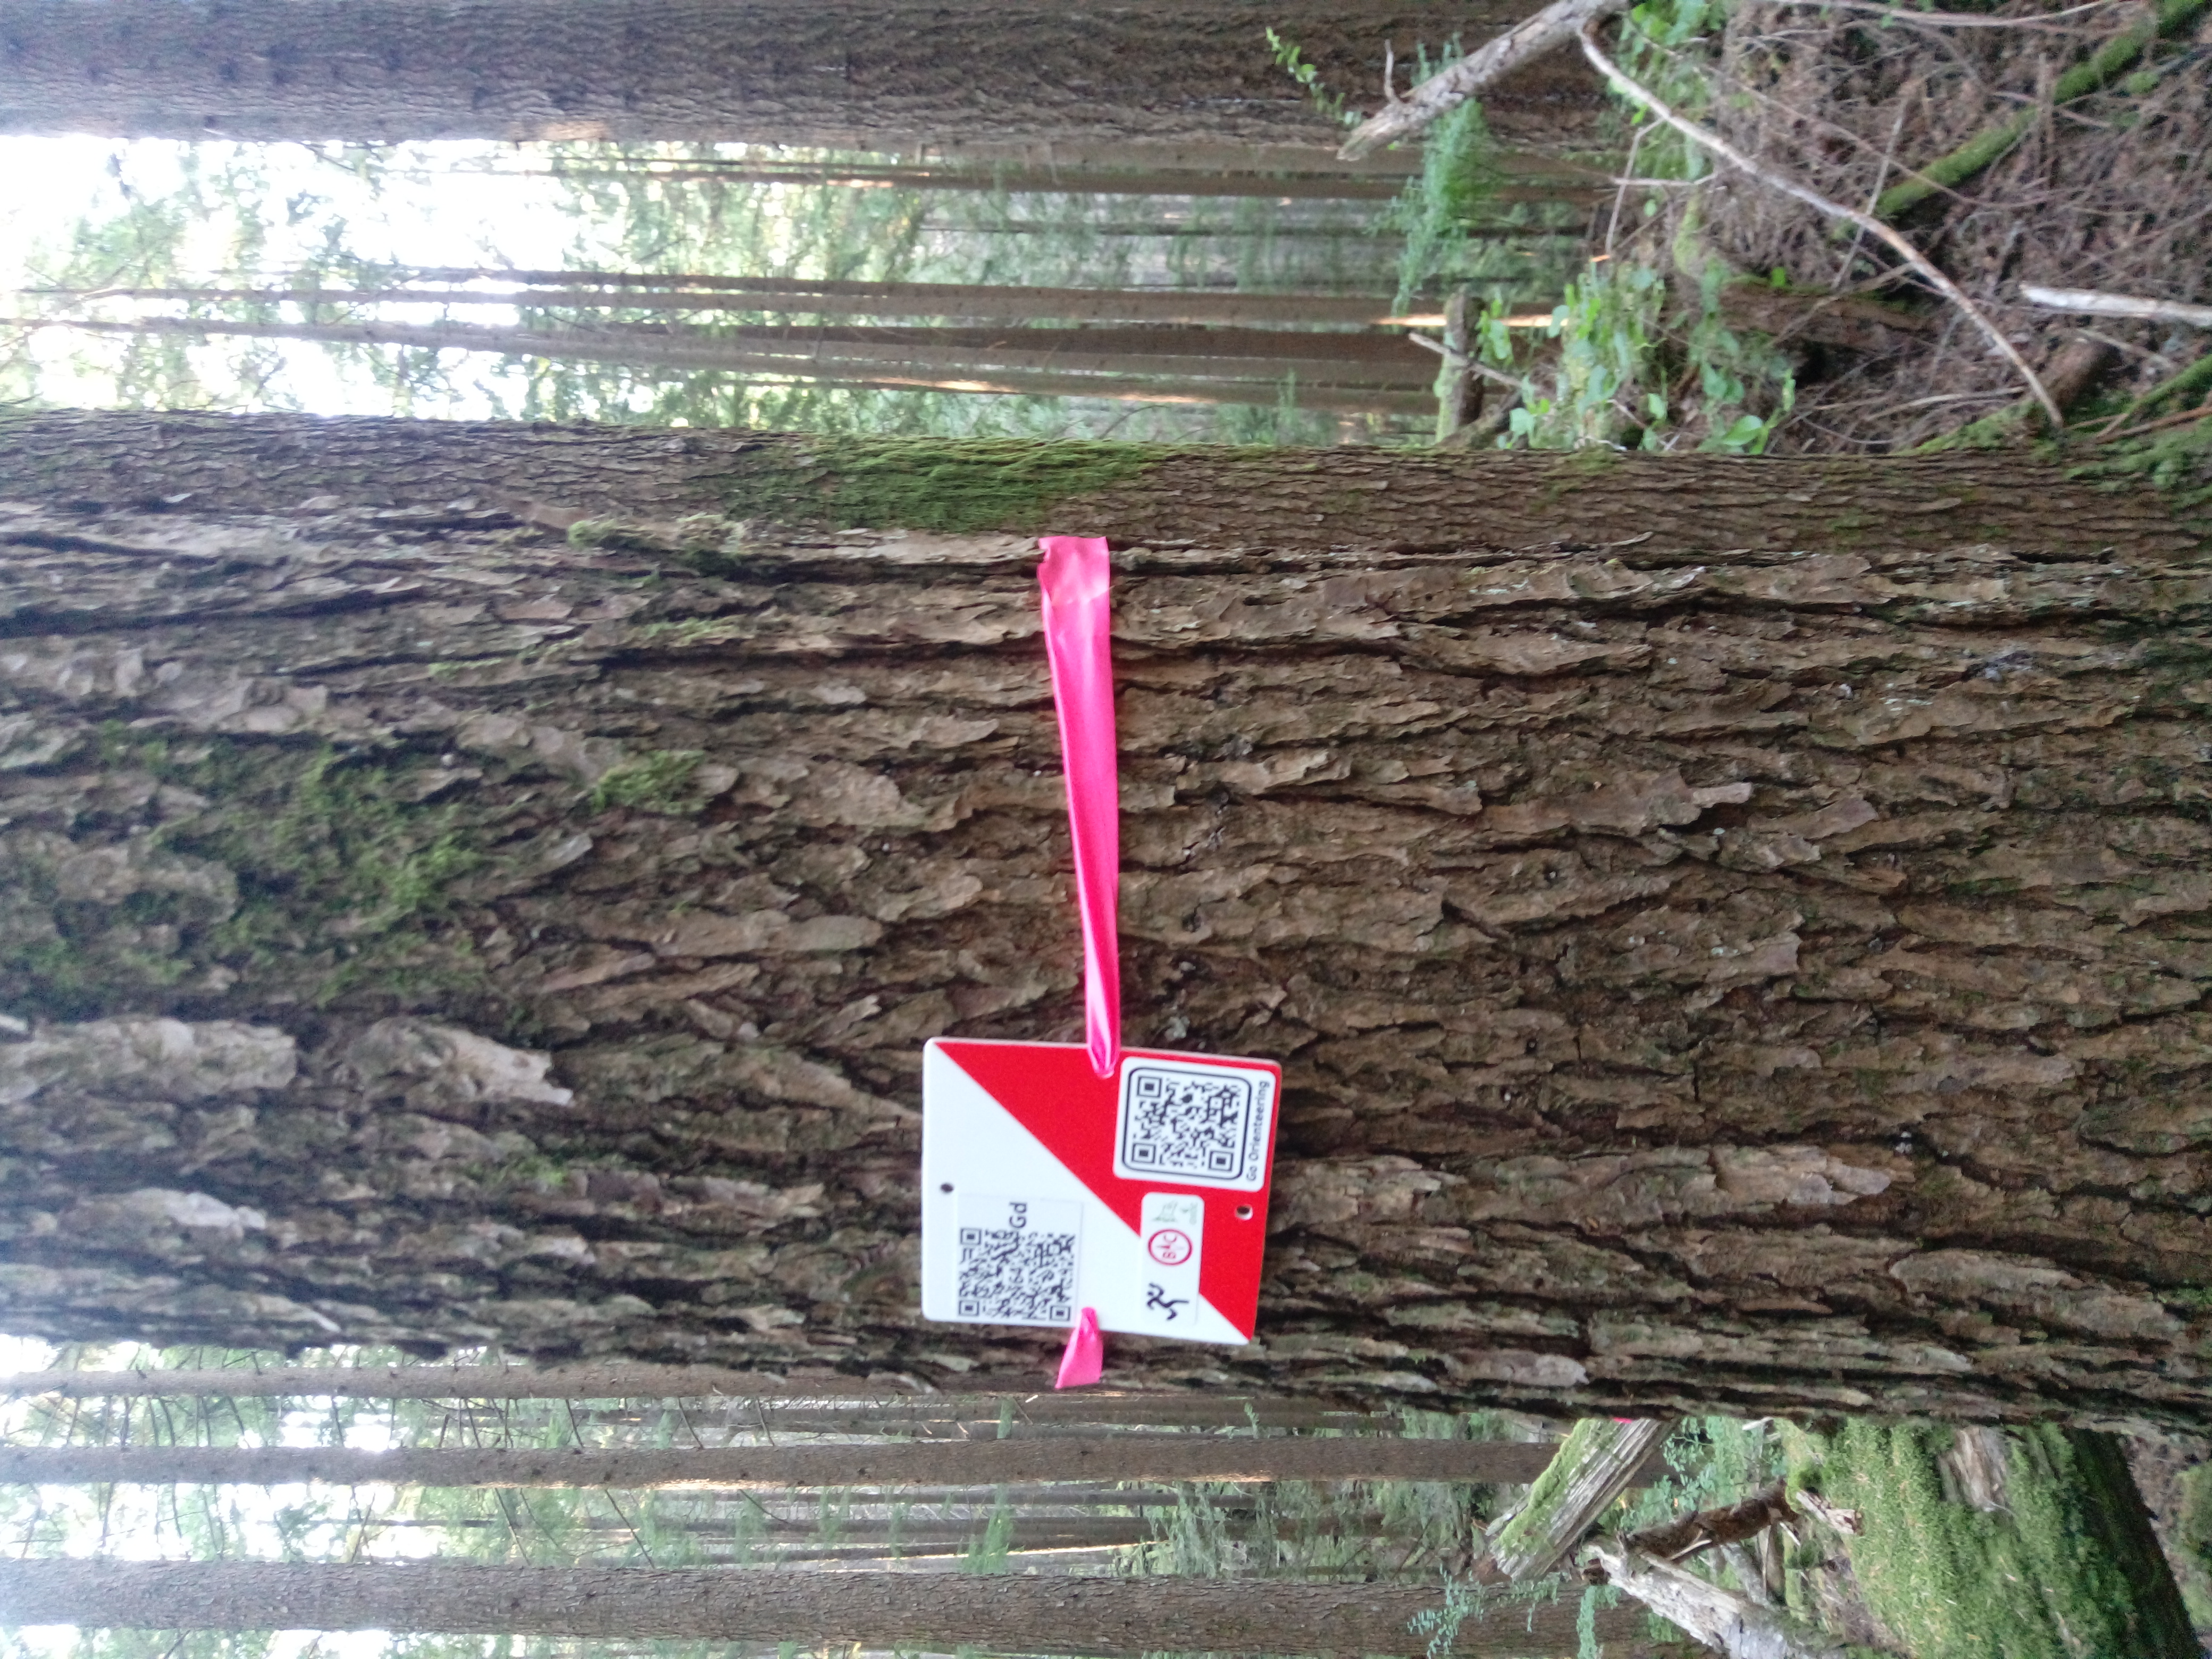
Any other yellow or pink tape dangling from trees is not ours.
Safety:
- watch out for regular mountain bike traffic on the trails
- the occasional bear (seriously)
- Let people know where you are going if going solo, and bring a phone/whistle.
Registration Link: